🌟 Daily Awakening Quiz 🌟
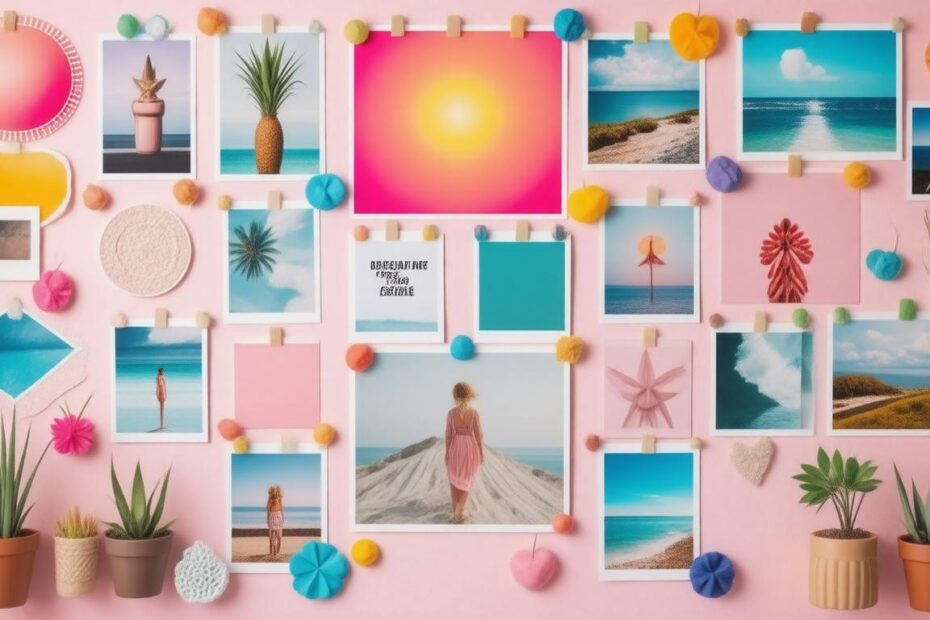
Creating a vision board is a powerful way to visualize your dreams and goals, serving as a constant reminder of what you aspire to achieve. This fun and creative process allows you to curate images, quotes, and symbols that resonate with your aspirations, ultimately helping you focus on what you want in your life. Here’s a comprehensive guide on how to craft your personal vision board.
Step 1: Gather Your Supplies
Start by collecting the materials you’ll need to bring your vision board to life. Here’s a basic list to get you started:
-
Board or Canvas: Choose a sturdy base such as a homosote board, corkboard, or even a large canvas. The size should fit your available space—larger boards can provide a bigger canvas for your creativity.
-
Fabric or Background Material: A piece of attractive fabric such as burlap or any decorative paper can serve as a background, adding a personal touch.
-
Images and Words: Cut out photos, words, or phrases from magazines, print them from the internet, or create your own. The key is to include imagery that reflects your goals, whether that’s a dream home, career milestones, or personal achievements.
-
Adhesives: Use map pins, a staple gun, or strong glue to secure your materials in place. Command strips can also work well for hanging the board.
-
Optional Decorative Elements: Consider adding additional decorative items like stickers, washi tape, or drawings to enhance your board’s aesthetic.

Step 2: Plan Your Layout
Before you start gluing or pinning, take some time to plan how you want your vision board to look. You might want to place the most important images in the center, flanked by other visuals that relate to your goals. Remember, there’s no right or wrong way to arrange your board—let your creativity guide you!
Step 3: Cover Your Base
If you’re using a fabric cover, lay it out on a flat surface and stretch it over your board, securing it on the back with staples or adhesive. This creates a clean canvas for your visions to shine.
Step 4: Create and Arrange
Now comes the exciting part! Begin placing your images and words on the board. Start with your biggest aspirations and work outward, filling in with smaller images and motivational quotes. Make sure that each piece resonates with you and represents a tangible goal or dream.
Step 5: Find Your Perfect Spot
Display your vision board in a location where you will see it often, such as your office, bedroom, or living room. Having it in a visible spot increases the chances of you connecting with your goals on a daily basis.
Step 6: Keep It Dynamic
Your vision board isn’t meant to be static. As your goals evolve or as you achieve certain milestones, feel free to remove, replace, or add new elements. This process of updating your vision board keeps it fresh and relevant to your current aspirations.
Step 7: Digital Vision Boards
If you prefer a digital approach, platforms like Canva allow you to create and design a vision board online. You can easily drag and drop images, quotes, and graphics, customizing your board to reflect your vision beautifully. This digital format also makes it easy to access your board on your devices, serving as a motivational reminder wherever you go.
Conclusion
Creating a vision board is a unique, personal project that can help define your aspirations and motivate you toward action. By assembling a visual representation of your dreams, you not only clarify what you want to achieve but also reinforce the actions necessary to get there. So gather your supplies, unleash your creativity, and enjoy the journey of manifesting your dreams into reality!